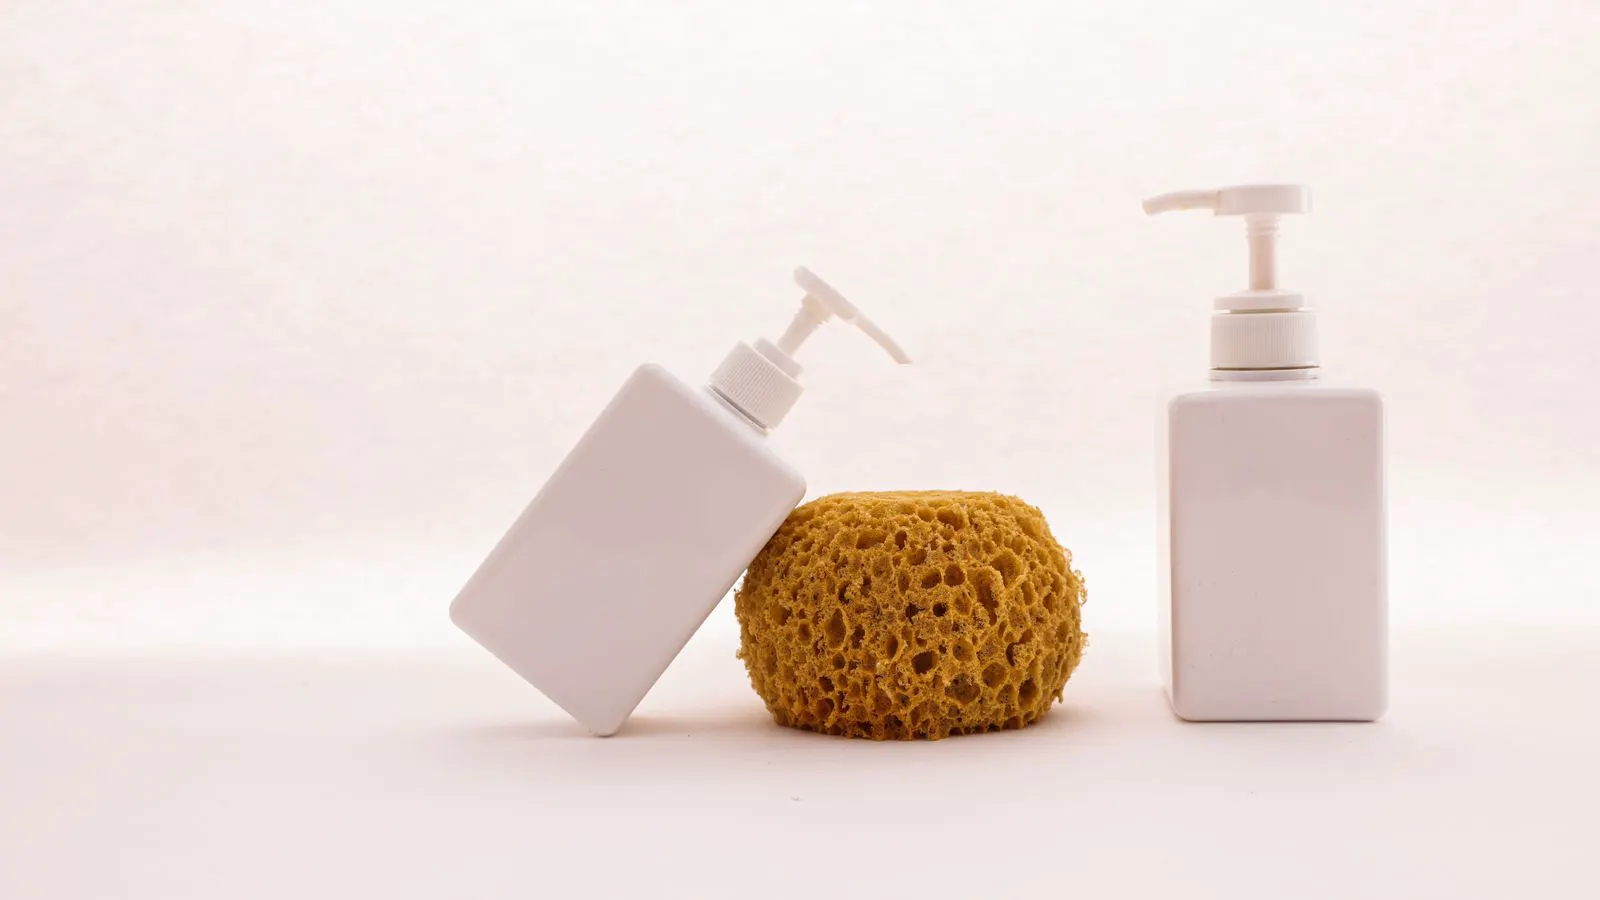
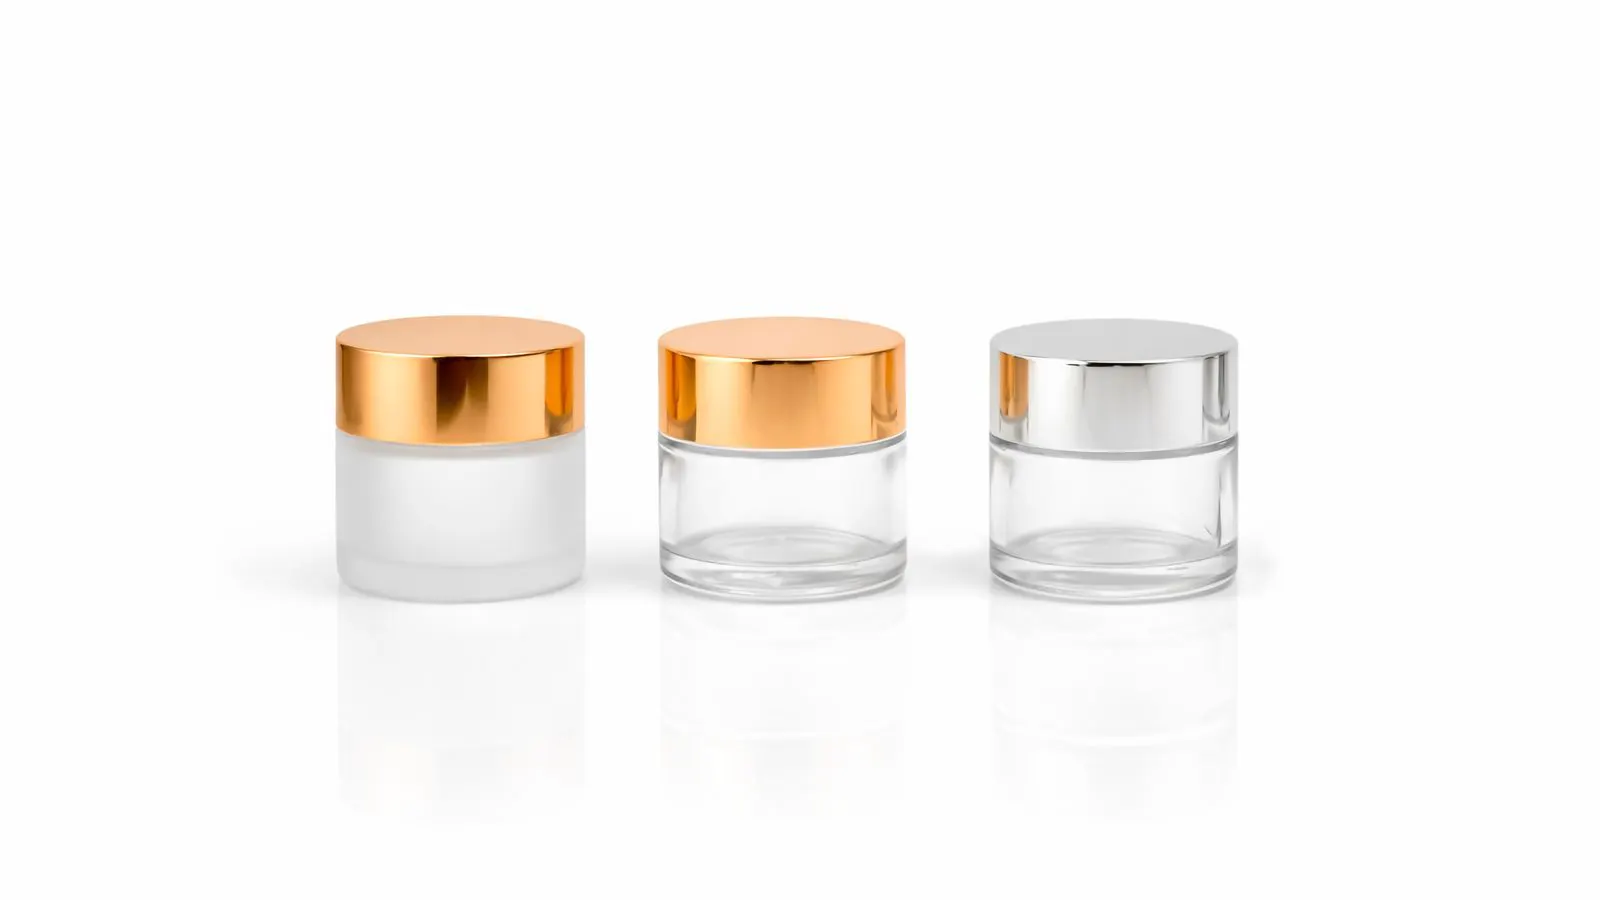
Cosmetic Packaging Design Checklist for OEM Buyers

This guide lists the technical, material, and compliance points buyers must verify in packaging design. It covers structural integrity, material selection, fill ratios, and regulatory requirements to prevent costly errors during OEM production.
- Verify structural integrity and fill ratios before finalizing any cosmetic packaging design to prevent breakage and waste.
- Confirm material compatibility and regulatory compliance early in the design phase to avoid costly rework.
- Align labeling space and text placement with local regulations to ensure product approval and shelf readiness.
- Request detailed design specifications from your OEM to clarify tolerances, materials, and finishing requirements.
Define the Product and Format Requirements
Start with the product type and intended use. A serum, cream, or powder each demands different packaging solutions. Identify the viscosity, particle size, and whether the product contains active ingredients that degrade under light or heat. The formulation dictates the container geometry. A high-viscosity cream requires a wide opening or a pump with a large bore to allow dispensing without excessive force. A low-viscosity oil or serum needs a narrow-necked bottle and a dropper with a precise tip volume. If the product contains light-sensitive actives, the container must block specific wavelengths of light. Amber glass, dark PET, or opaque plastic coatings are standard solutions. Clear containers are only viable if the formula includes stabilizers that compensate for light exposure.
The container shape must match the application method. Pumps work for viscous creams but fail with thin oils. Droppers suit serums but are impractical for thick balms. A mismatch here leads to poor user experience and potential product waste. For example, a pump mechanism designed for a lotion with a specific viscosity rating may not draw up a light facial oil. The oil remains in the base of the bottle, and the pump dispenses air. Conversely, a dropper head on a thick balm will clog and deliver inconsistent amounts. Users will abandon the product if they cannot control the dose.
- Product type and viscosity confirmed
- Application method defined (pump, dropper, screw cap, etc.)
- Active ingredient sensitivities noted (light, heat, oxidation)
- Intended usage scenario identified (home, travel, professional)
Red flags: A design that looks premium but makes dosing difficult. A pump head that leaks when inverted. A bottle shape that traps product at the base, wasting more than half of the contents.
Verify Structural Integrity and Fit
Structural integrity determines whether the package survives shipping, storage, and daily use. Check the wall thickness, base stability, and closure fit. A thin-walled bottle may look elegant but shatters in transit. A loose closure invites leakage and contamination. Structural failure often appears during the first drop test or when the package is stored on a shelf with other items. The weight of neighboring products can exert lateral pressure on a bottle with weak sidewalls.
Request the OEM to provide a structural analysis or at minimum confirm the minimum wall thickness for the selected material. Thin plastic walls can deform under cap torque. If you apply excessive force to close a cap, the neck may warp slightly, leading to a poor fit next time. This creates a gap that allows air in and product out. Test the closure torque. If the cap requires excessive force to open or close, users will struggle. If it is too loose, it will fall off or leak. Torque values should be measured in Newton-meters. A typical screw cap for a cosmetic bottle might require a specific range to ensure a secure seal without breaking the plastic threads.
- Minimum wall thickness specified for the material
- Base stability tested (flat surface, no tipping)
- Closure torque tested (open and close)
- Leak resistance verified (inverted position, pressure)
- Drop test results reviewed (if available)
Red flags: A bottle that rocks on a flat surface. A cap that requires two hands to open. A pump that weeps when the bottle is stored upright for several days.
Select Appropriate Materials and Finishes
Material selection impacts cost, sustainability, and product performance. Glass offers barrier protection but is heavy and fragile. It provides an excellent barrier against oxygen and light, which is ideal for sensitive actives. However, its weight increases shipping costs. If the product is for travel, glass is often impractical. Plastics vary widely in chemical resistance and cost. HDPE and PP are common for larger volumes and are generally chemically stable. PET is lightweight and transparent, making it suitable for seeing the product level, but it may allow more oxygen ingress than glass. Metals provide a premium feel but may react with certain ingredients. Aluminum is inert in most cases but requires a coating to prevent corrosion and to allow printing.
Finishes add visual appeal but introduce complexity. Matte coatings can scratch and show fingerprints. Metallic inks may peel over time if not properly cured or if the surface is not primed. Textured surfaces can harbor bacteria if not properly sealed. For example, a brushed metal finish looks modern but can be difficult to clean if product residue gets into the texture. A matte lacquer on a plastic bottle may crack if the bottle is subjected to high temperatures during storage or transport.
| Material | Typical Use | Key Consideration |
|---|---|---|
| Glass | Serums, oils, high-end creams | Heavy, fragile, excellent barrier |
| HDPE | Shampoos, body washes, creams | Durable, chemically stable, affordable |
| PET | Travel sizes, sprays | Lightweight, transparent, recyclable |
| Aluminum | Aerosols, creams, powders | Lightweight, opaque, requires coating |
| Acrylic | Bottles, jars, caps | Lightweight, clear, scratch-resistant |
Red flags: A plastic material not rated for the specific ingredient. A metallic finish that flakes during testing. A glass bottle with no impact protection in the shipping box.
Confirm Fill Capacity and Headspace
Fill capacity is not just about how much product fits. Headspace, the air gap between the product and the closure, affects shelf life and appearance. Too little headspace causes leakage under heat. If the liquid expands due to temperature changes, it can push past the closure or crack the bottle. Too much headspace creates a vacuum that may break the seal or make the product look empty. Consumers often judge product quality by how full the bottle appears. A bottle that looks half-empty after a few uses, even if the net content is correct, may lead to complaints.
Specify the net content volume in the design file. Confirm the maximum fill level with the OEM. For products with foaming agents or emulsions, allow extra headspace to account for expansion. Foaming agents create gas bubbles that increase volume. If the headspace is too tight, the foam can press against the closure during transport or if the bottle is shaken. This can cause the cap to blow off or leak. The fill line should be marked on the mold or tooling to ensure consistency. Manual filling is prone to error. Automated filling machines use probes to detect the fill level, but the container geometry must allow the probe to reach the bottom without false readings.
- Net content volume defined in the design
- Headspace calculated for product expansion
- Fill level verified against regulatory minimums
- Maximum fill line marked on the mold or tooling
Red flags: A design that looks full on the label but leaves no room for product expansion. A pump that draws air after a few uses due to insufficient headspace.
Align Labeling and Regulatory Requirements
Packaging design must accommodate all required labels. This includes the front label, back label, and any mandatory ingredient lists or warnings. Label space must be accurate, and the surface must accept the chosen label type. If the label area is too small, the mandatory text becomes illegible. Regulatory bodies often require a minimum font size for ingredient lists. If the label curves around the bottle, the text may distort or become unreadable. Flat areas are preferred for dense text.
Check the surface finish. Glossy surfaces may not hold adhesive labels well. Textured surfaces can make text difficult to read. Confirm the label material (paper, vinyl, BOPP) and its adhesion to the package substrate. Different materials bond differently. Vinyl labels are durable and water-resistant, suitable for body washes. Paper labels are common for dry products but may peel if exposed to moisture. BOPP is a common plastic film for cosmetics, offering good adhesion and durability. The label adhesive must be compatible with the container material. Some adhesives do not bond well to certain plastics or metal coatings.
- Front and back label dimensions specified
- Label placement aligned with product registration marks
- Surface finish compatible with label material
- Regulatory text (ingredients, warnings) included in the layout
- Barcode or QR code space reserved
Red flags: A label that covers a structural seam or a curved area where the label will not lie flat. A design that does not leave enough space for the mandatory ingredient list. A surface finish that rejects the chosen label adhesive.
Review Tooling, Tolerances, and Production Readiness
Finalize the design specifications before sending the file to the OEM. Tolerances define the acceptable variation in dimensions. Too tight, and production yield drops. Too loose, and the package does not meet quality standards. For example, a tolerance of plus or minus 0.1 millimeters on a critical dimension is standard for many plastic parts. Tighter tolerances require more precise tooling and slower production speeds, increasing cost. Loose tolerances may result in a cap that does not fit properly or a bottle that is too light or heavy.
Confirm the tooling requirements. Glass molds, plastic molds, and metal blanks each have specific requirements. The OEM should provide a tooling quote and lead time. Tooling costs can be significant. A custom glass mold is more expensive than a standard plastic injection mold. The lead time for tooling can range from several weeks to several months depending on the complexity. Review the sample before mass production. The sample should be representative of the mass production run. Do not approve a sample that has been hand-finished or adjusted after production. The sample must be made with the same tooling and process as the final run.
- Dimensional tolerances defined for critical features
- Material thickness and density specified
- Tooling type and lead time confirmed
- Sample approval process documented
- Production run quantity aligned with tooling cost
Red flags: A design with no tolerance specifications. A tooling quote that does not include sample costs. A sample that looks perfect but fails in a stress test.
Plan for Sustainability and Disposal
Sustainability is increasingly a buyer and consumer requirement. Review the material composition for recyclability. Single-material designs are easier to recycle than multi-material assemblies. For example, a plastic bottle with a plastic cap and a paper label is easier to recycle than a bottle with a metal cap and a laminated label. Mixed materials often require separation, which reduces the efficiency of the recycling process. Check if the label material is compatible with the container recycling stream. If the label is made of a plastic that is not accepted in the local recycling facility, it may need to be removed before disposal.
Consider the end-of-life disposal. Some materials are difficult to separate. Ask the OEM about their waste management practices and any certifications for sustainable sourcing. Certified materials, such as recycled content plastics or sustainably sourced glass, can be a selling point. However, the certification must be valid and verifiable. Ask for documentation. Without documentation, the claims are difficult to verify. Also consider the packaging around the product. The box or carton that holds the bottle must also be recyclable. A cardboard box with a plastic window may be difficult to recycle. A simple cardboard box without plastic coatings is usually the best option.
- Material recyclability assessed
- Label material compatibility confirmed
- Multi-material assembly avoided
- Waste management practices documented
- Sustainability certifications reviewed (if applicable)
Red flags: A package that cannot be recycled due to mixed materials. A label that contaminates the recycling stream. A supplier that cannot provide material composition data.
Frequently asked questions
Can I use the same packaging design for multiple product lines?
Yes, but verify that the fill capacity, headspace, and labeling space match each product's regulatory and performance requirements. Small adjustments to the mold or label may be needed.
How do I ensure the label stays on during shipping?
Specify the label material and adhesive in the design file. Request a sample with the label applied to verify adhesion under heat and humidity.
What is the typical lead time for packaging tooling?
Lead times vary by material and complexity. Glass and plastic molds often take several weeks to months. Metal blanks may be faster. Confirm the timeline with your OEM before finalizing the design.
Do I need to test the packaging for drop and pressure?
Yes. Drop tests verify structural integrity during shipping. Pressure or vacuum tests ensure the seal holds under storage conditions. Request test reports from the OEM.
Can I change the packaging design after tooling is complete?
It is possible but costly. Tooling changes require rework and delay production. Finalize the design specifications, including tolerances and materials, before approving the tooling.